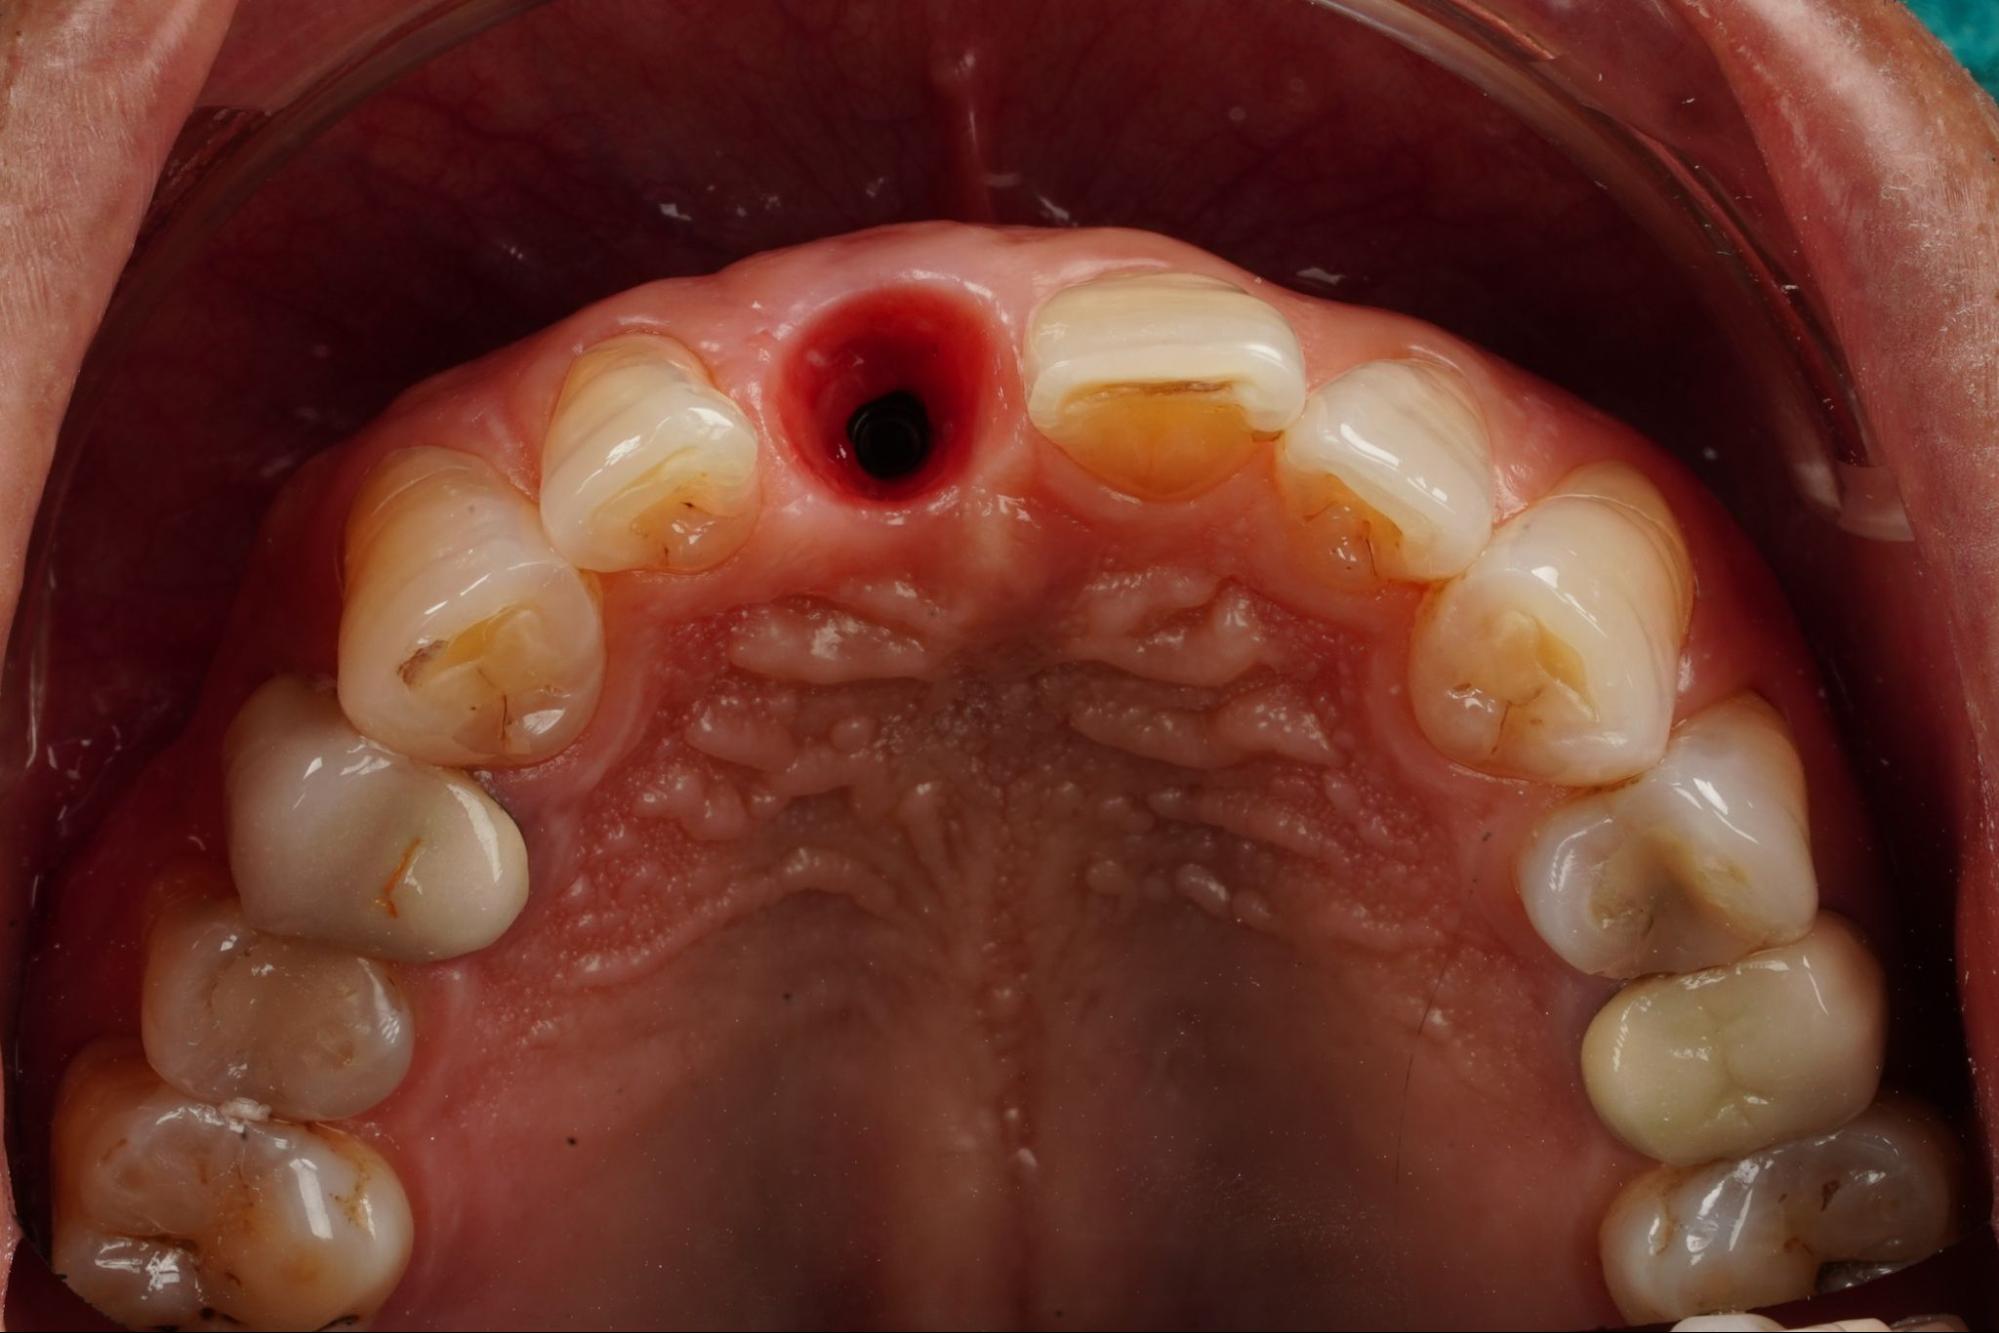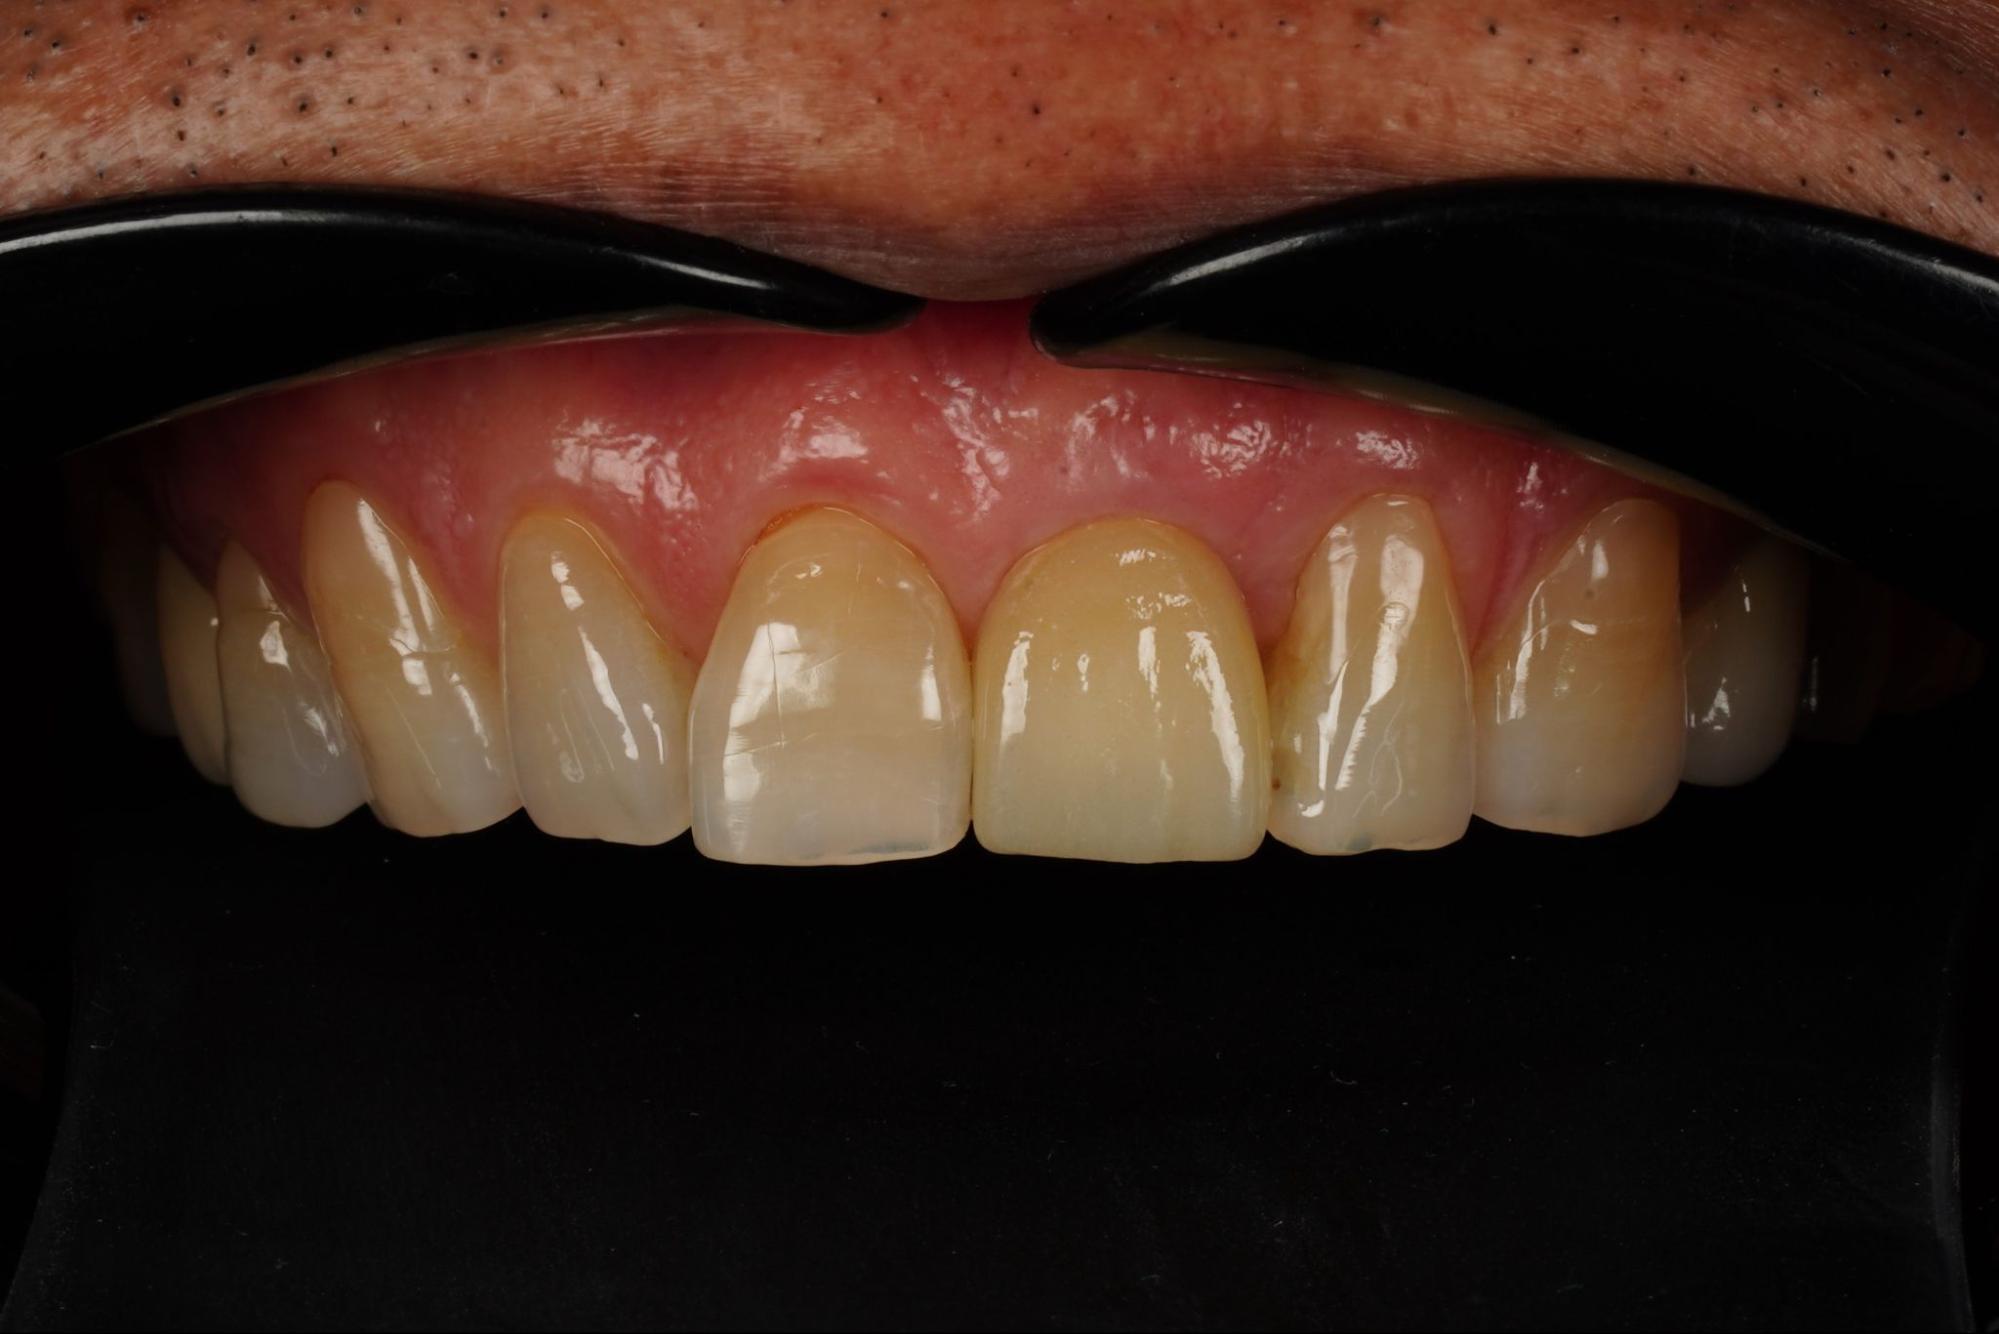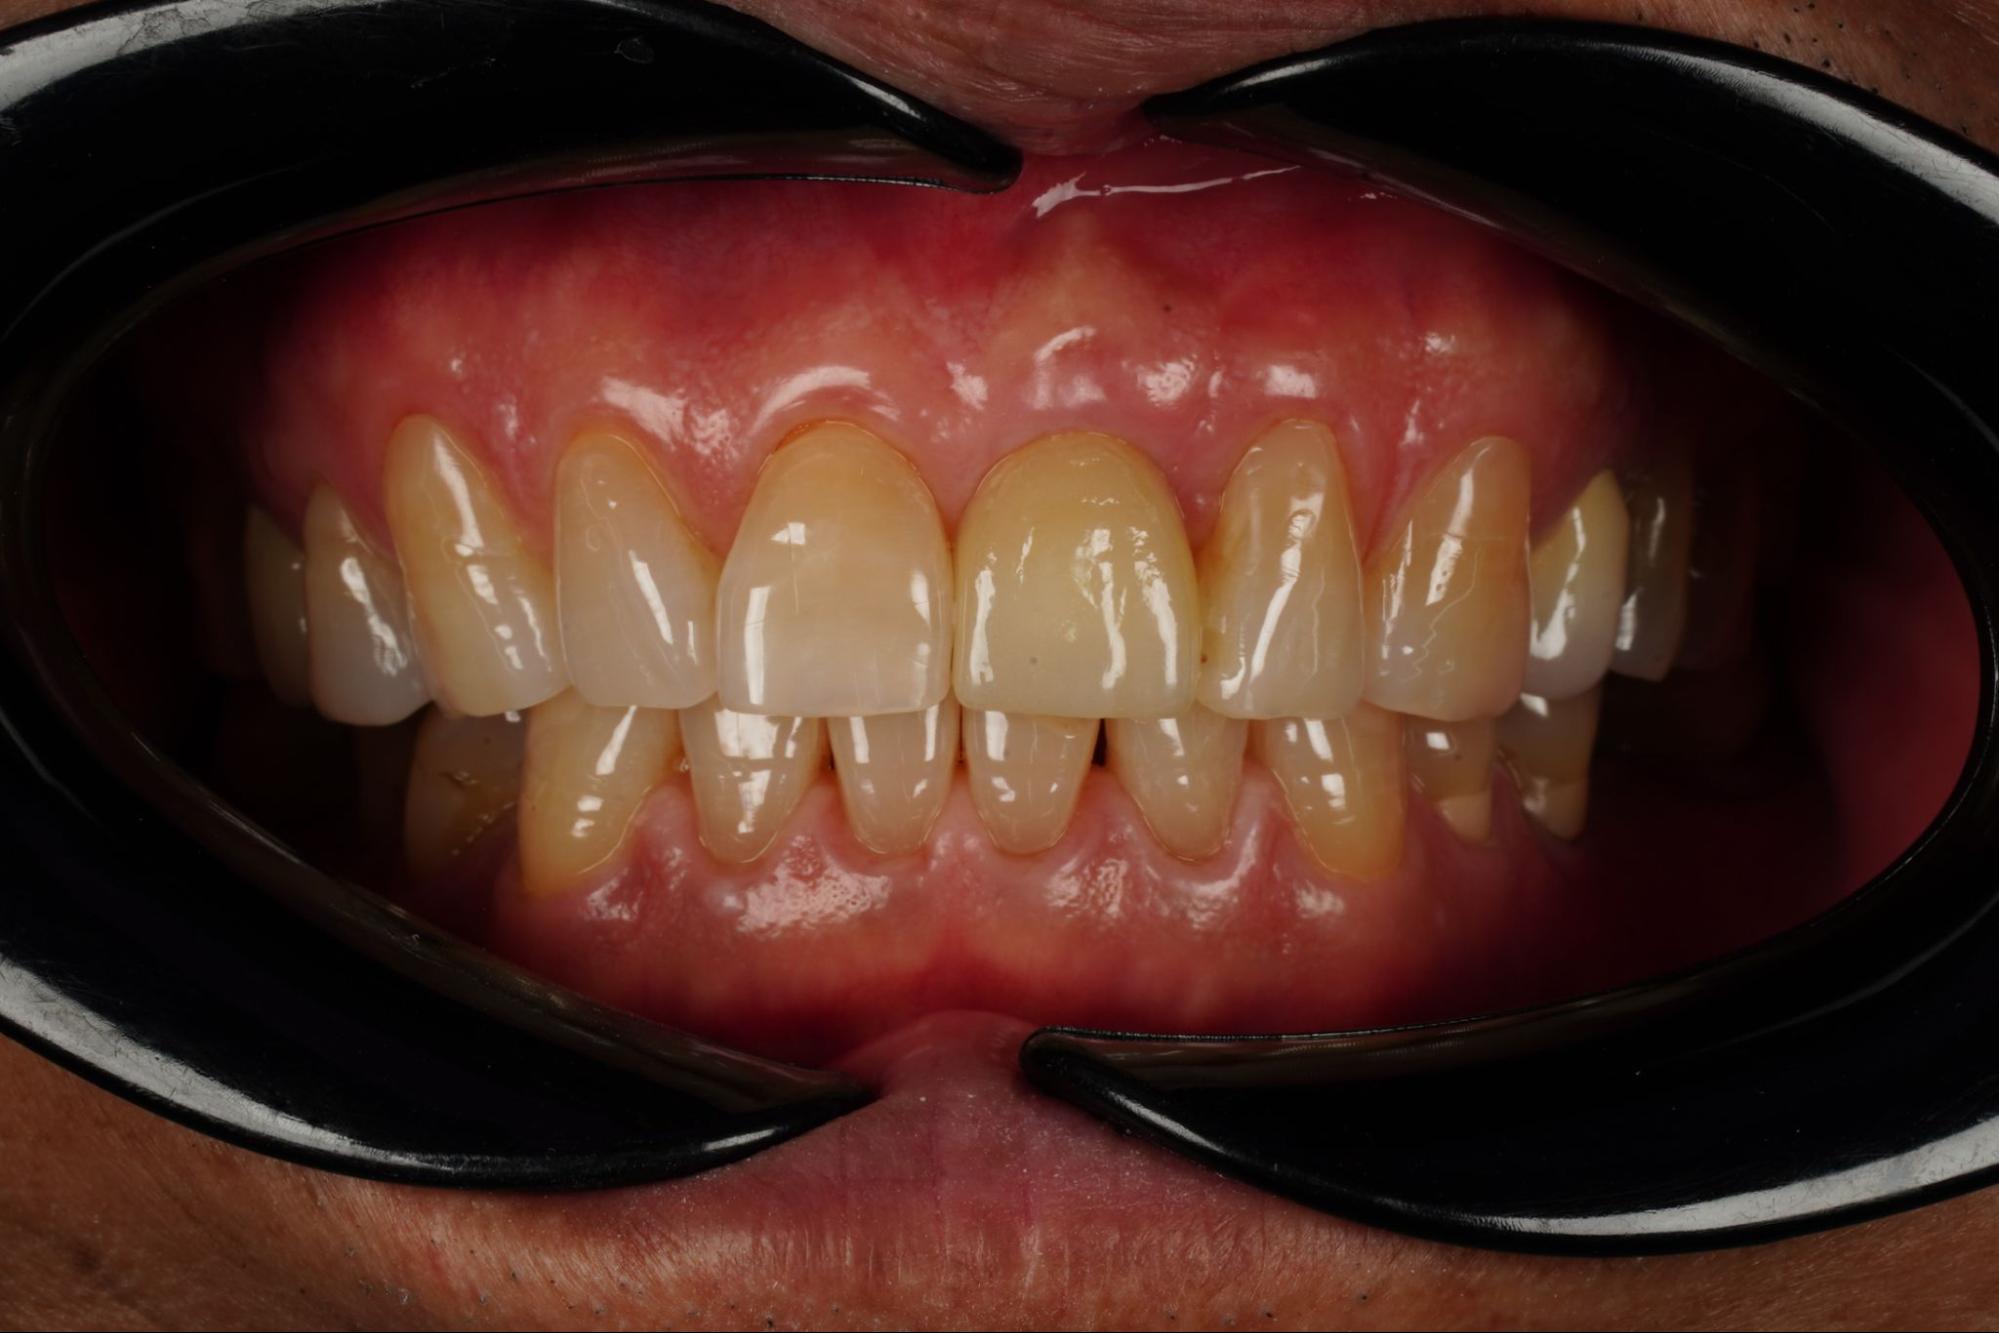
Implant In Esthetic Zone
Implant in esthetic zone refers to dental implant placement in the anterior region of the mouth, which is an area that is clearly visible when smiling. Therefore, special attention must be given to aesthetics, including the shape, color, and alignment of the teeth, as well as the gum contour, to achieve a natural-looking result.
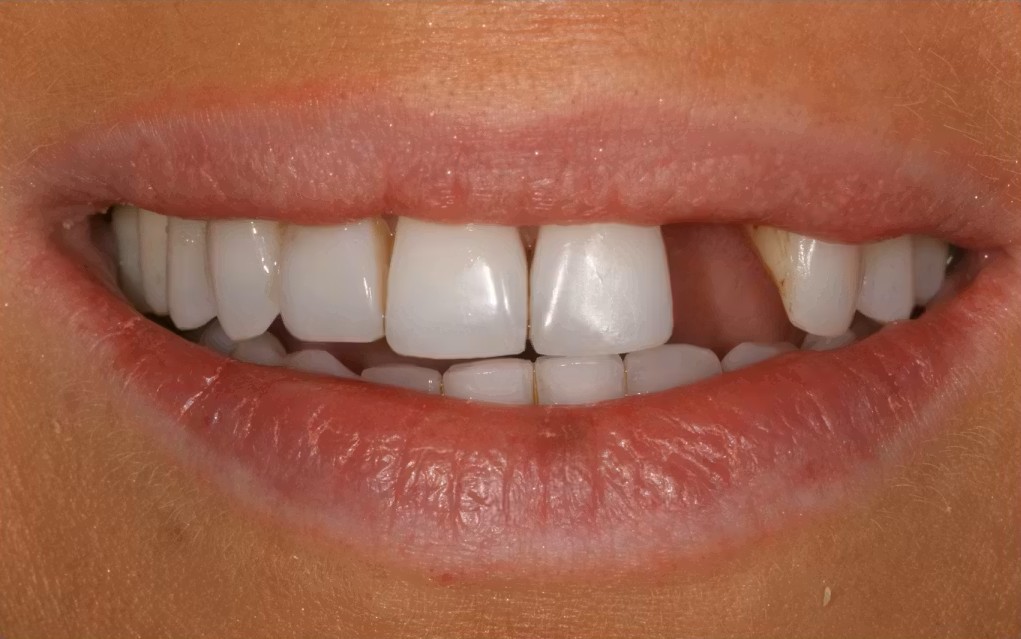
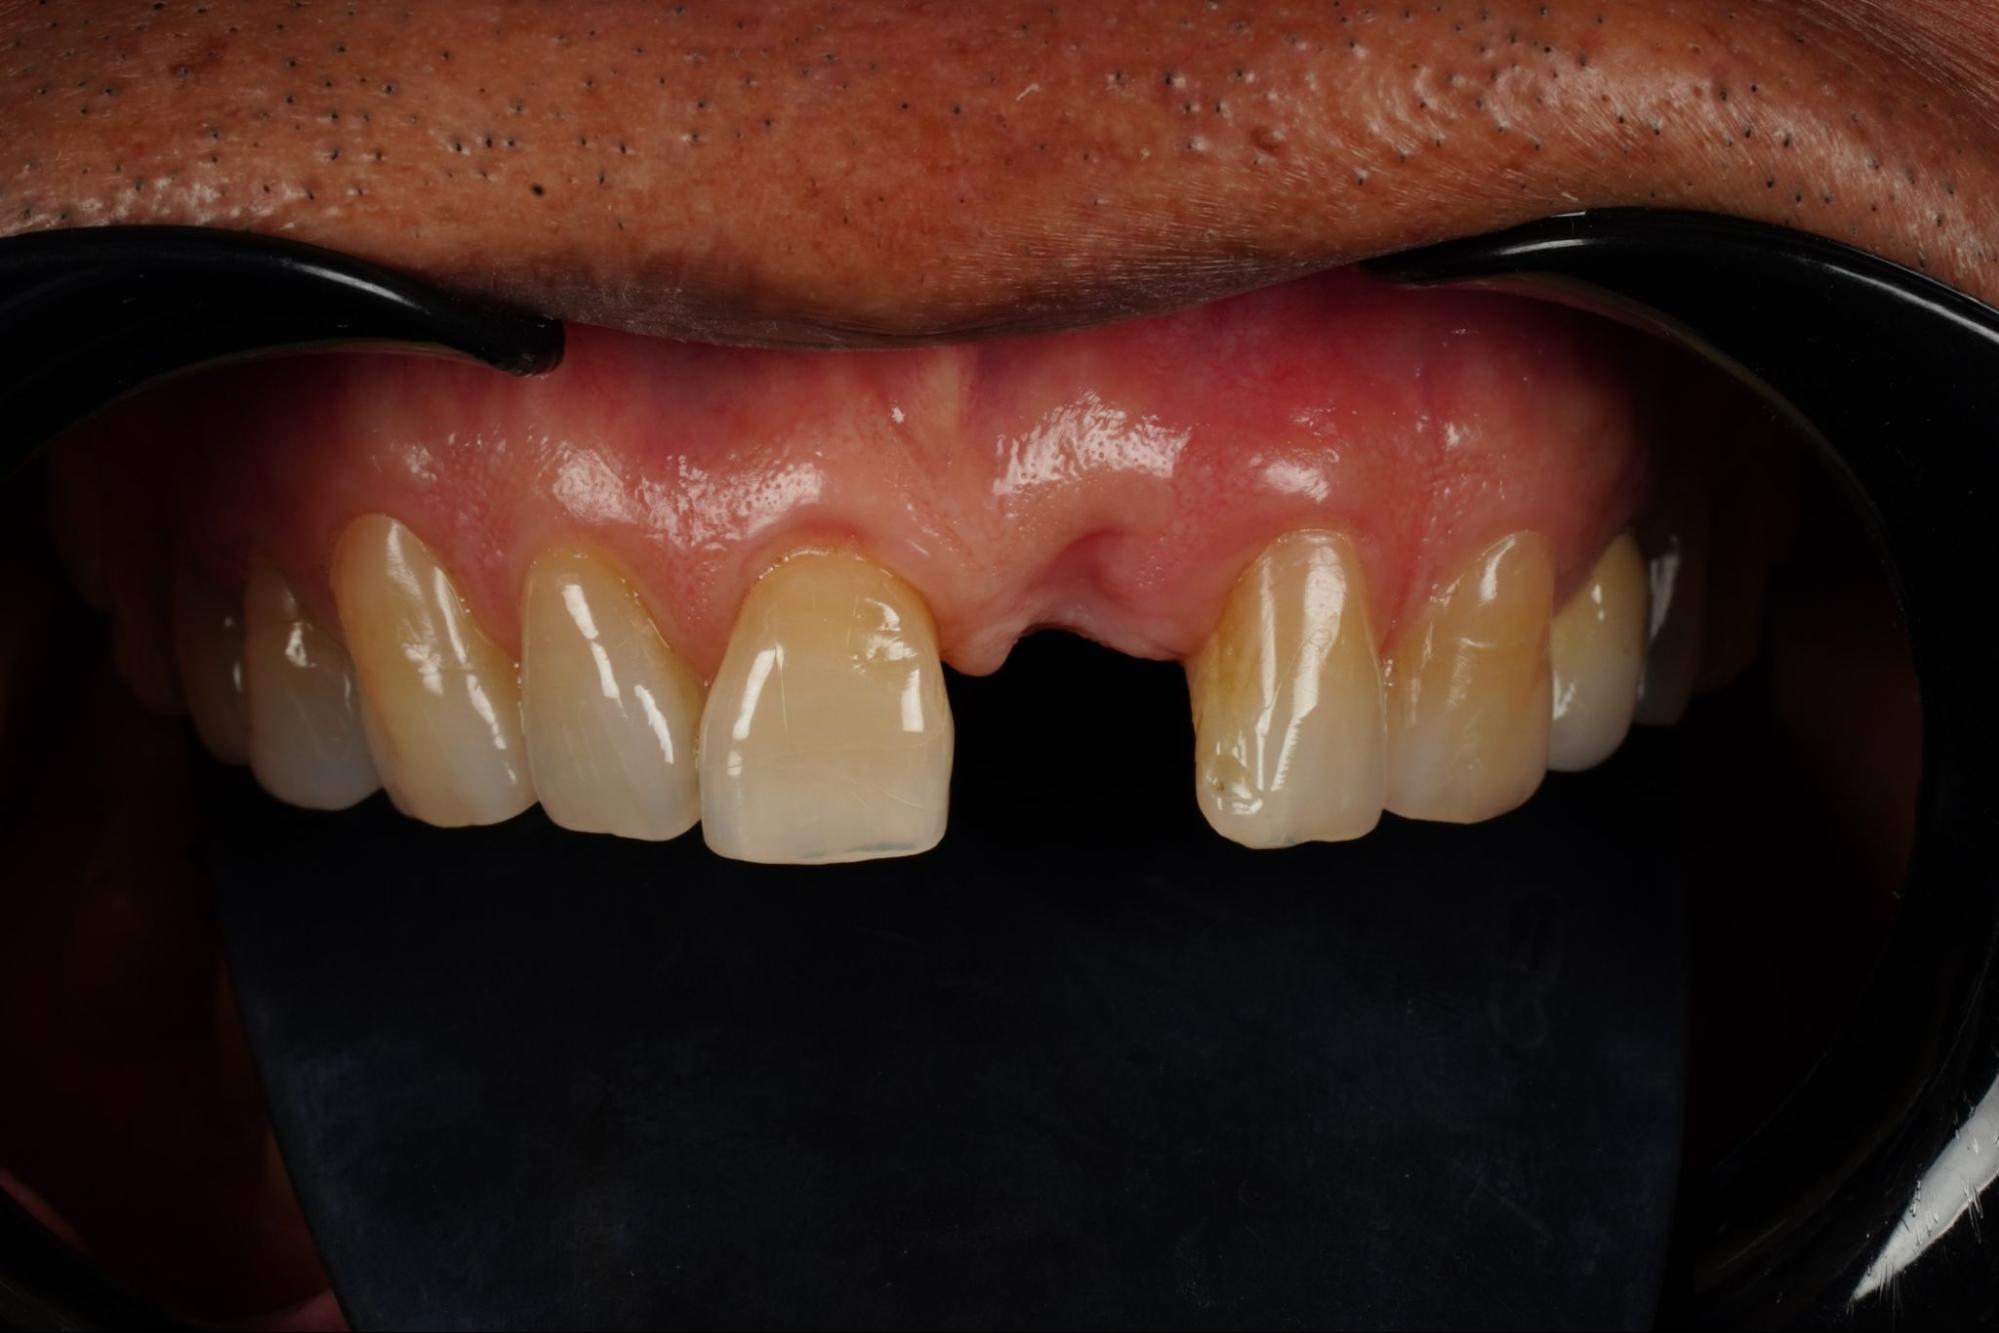
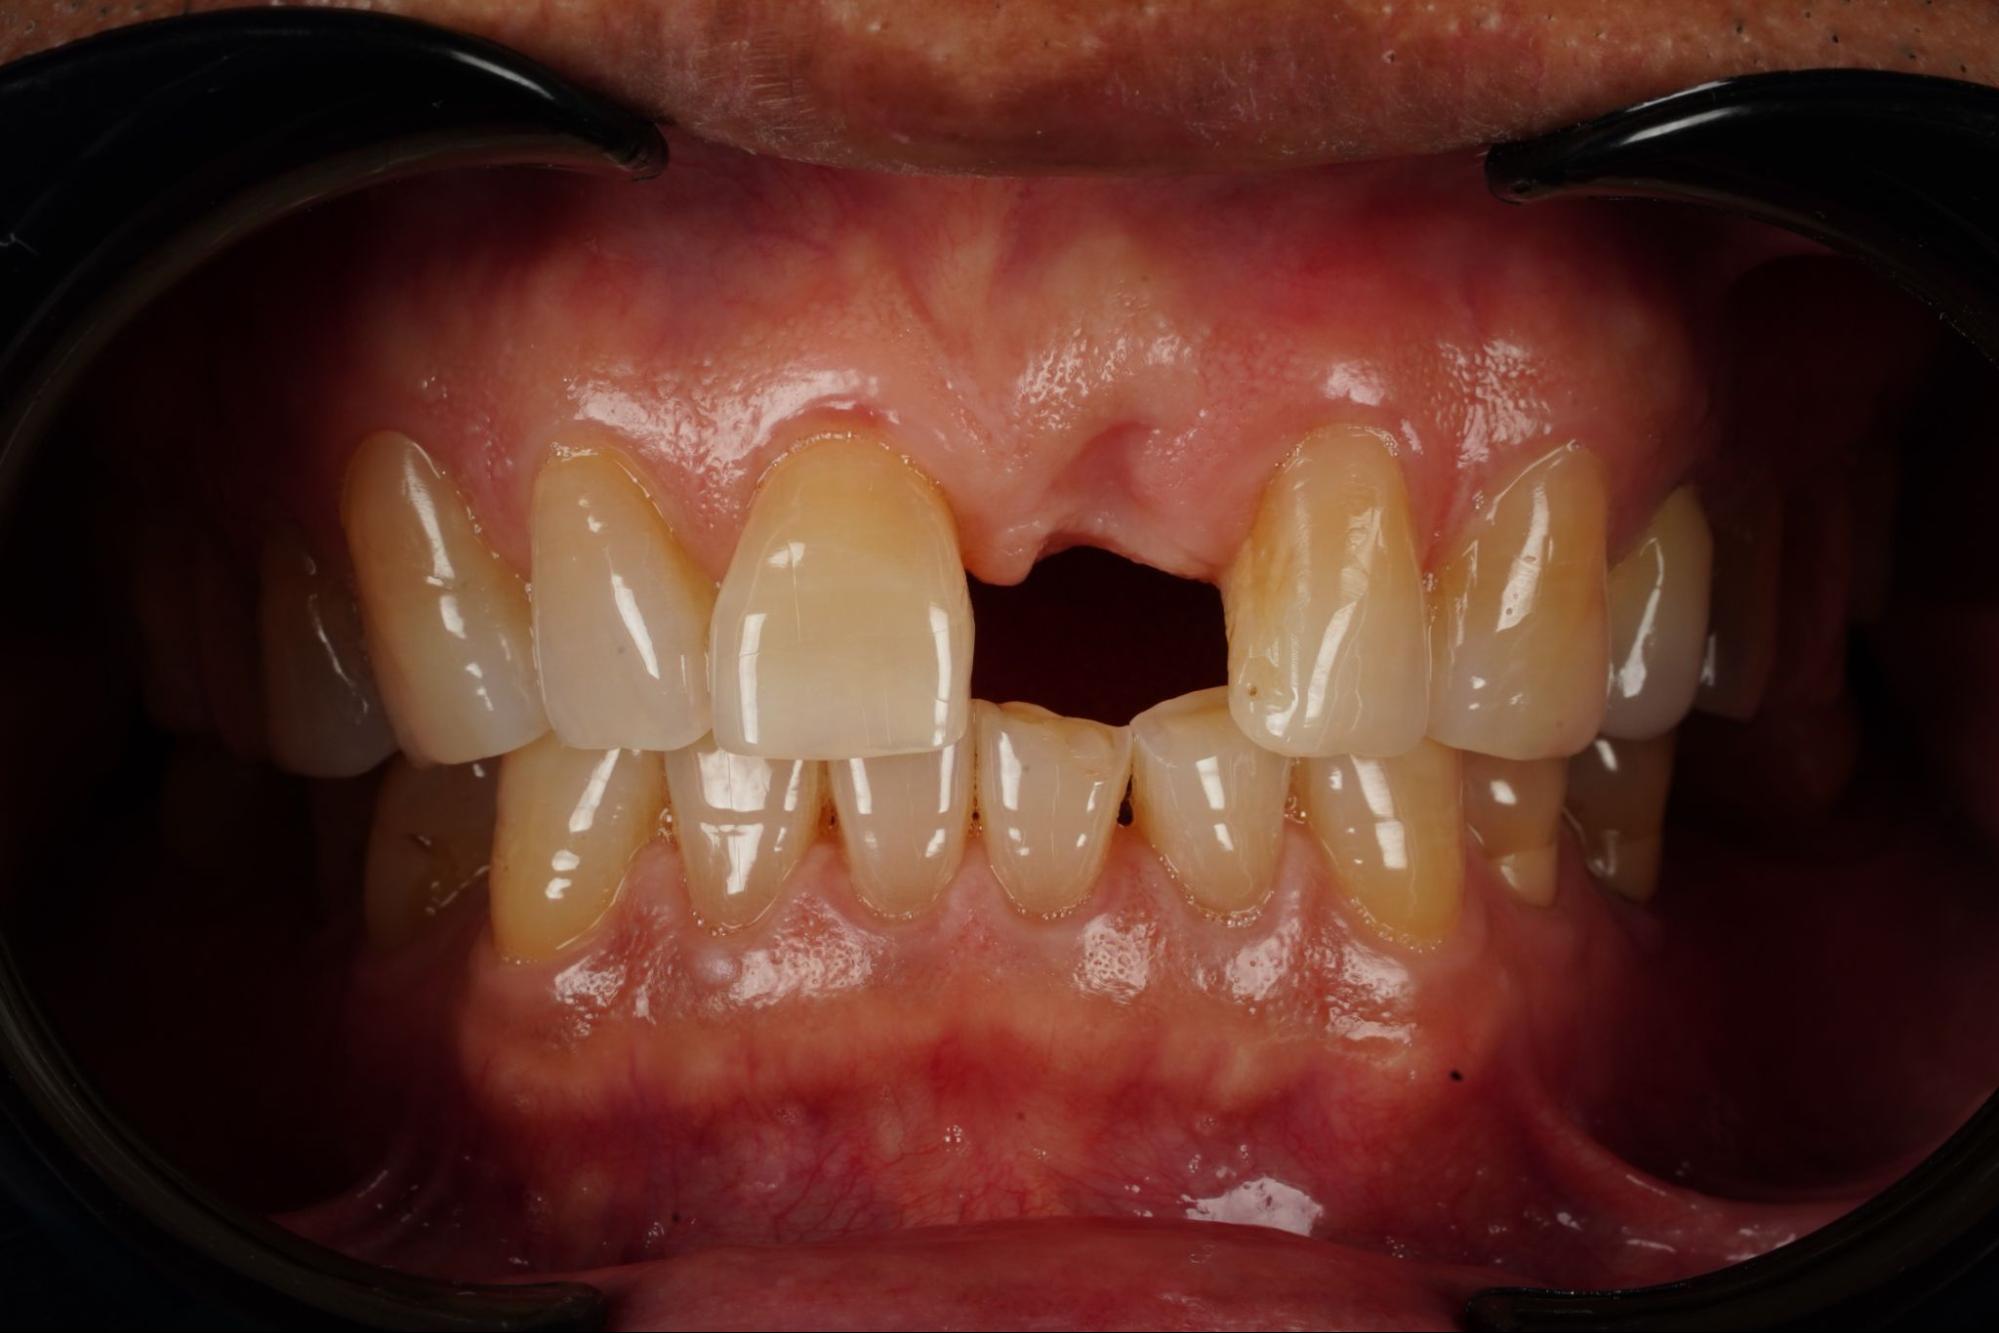
Image showing tooth loss in the esthetic zone
Challenges of implant placement in the esthetic zone
The anterior region is more complex than the posterior region because success must be achieved in three dimensions, including:
- White esthetics The crown placed on the implant must have size, shape, color, and surface texture that harmonize with the adjacent natural teeth and appear natural.
- Pink esthetics The gum tissue surrounding the crown must have a pleasing shape and color, with gingival margins that are harmonious with adjacent teeth, and without black triangles.
- Bone stability The bone in the anterior region is often thinner than in the posterior region; therefore, it is necessary to preserve the bone after extraction or perform appropriate bone grafting.
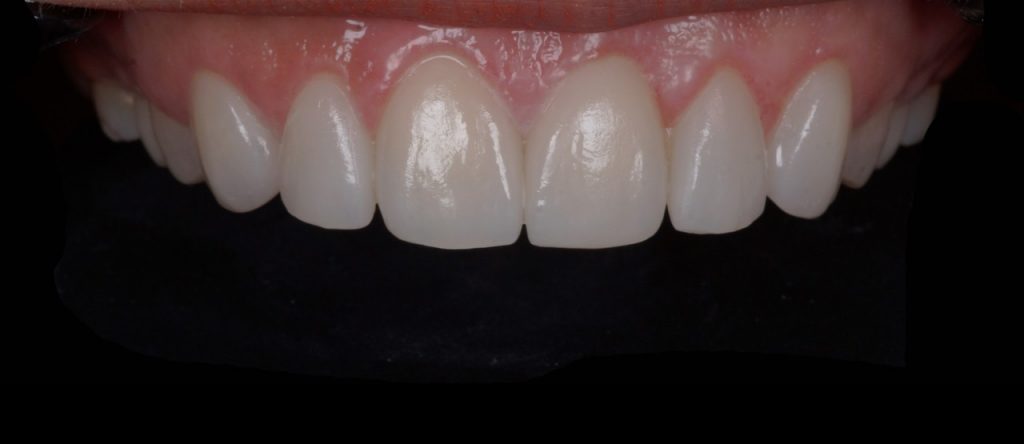
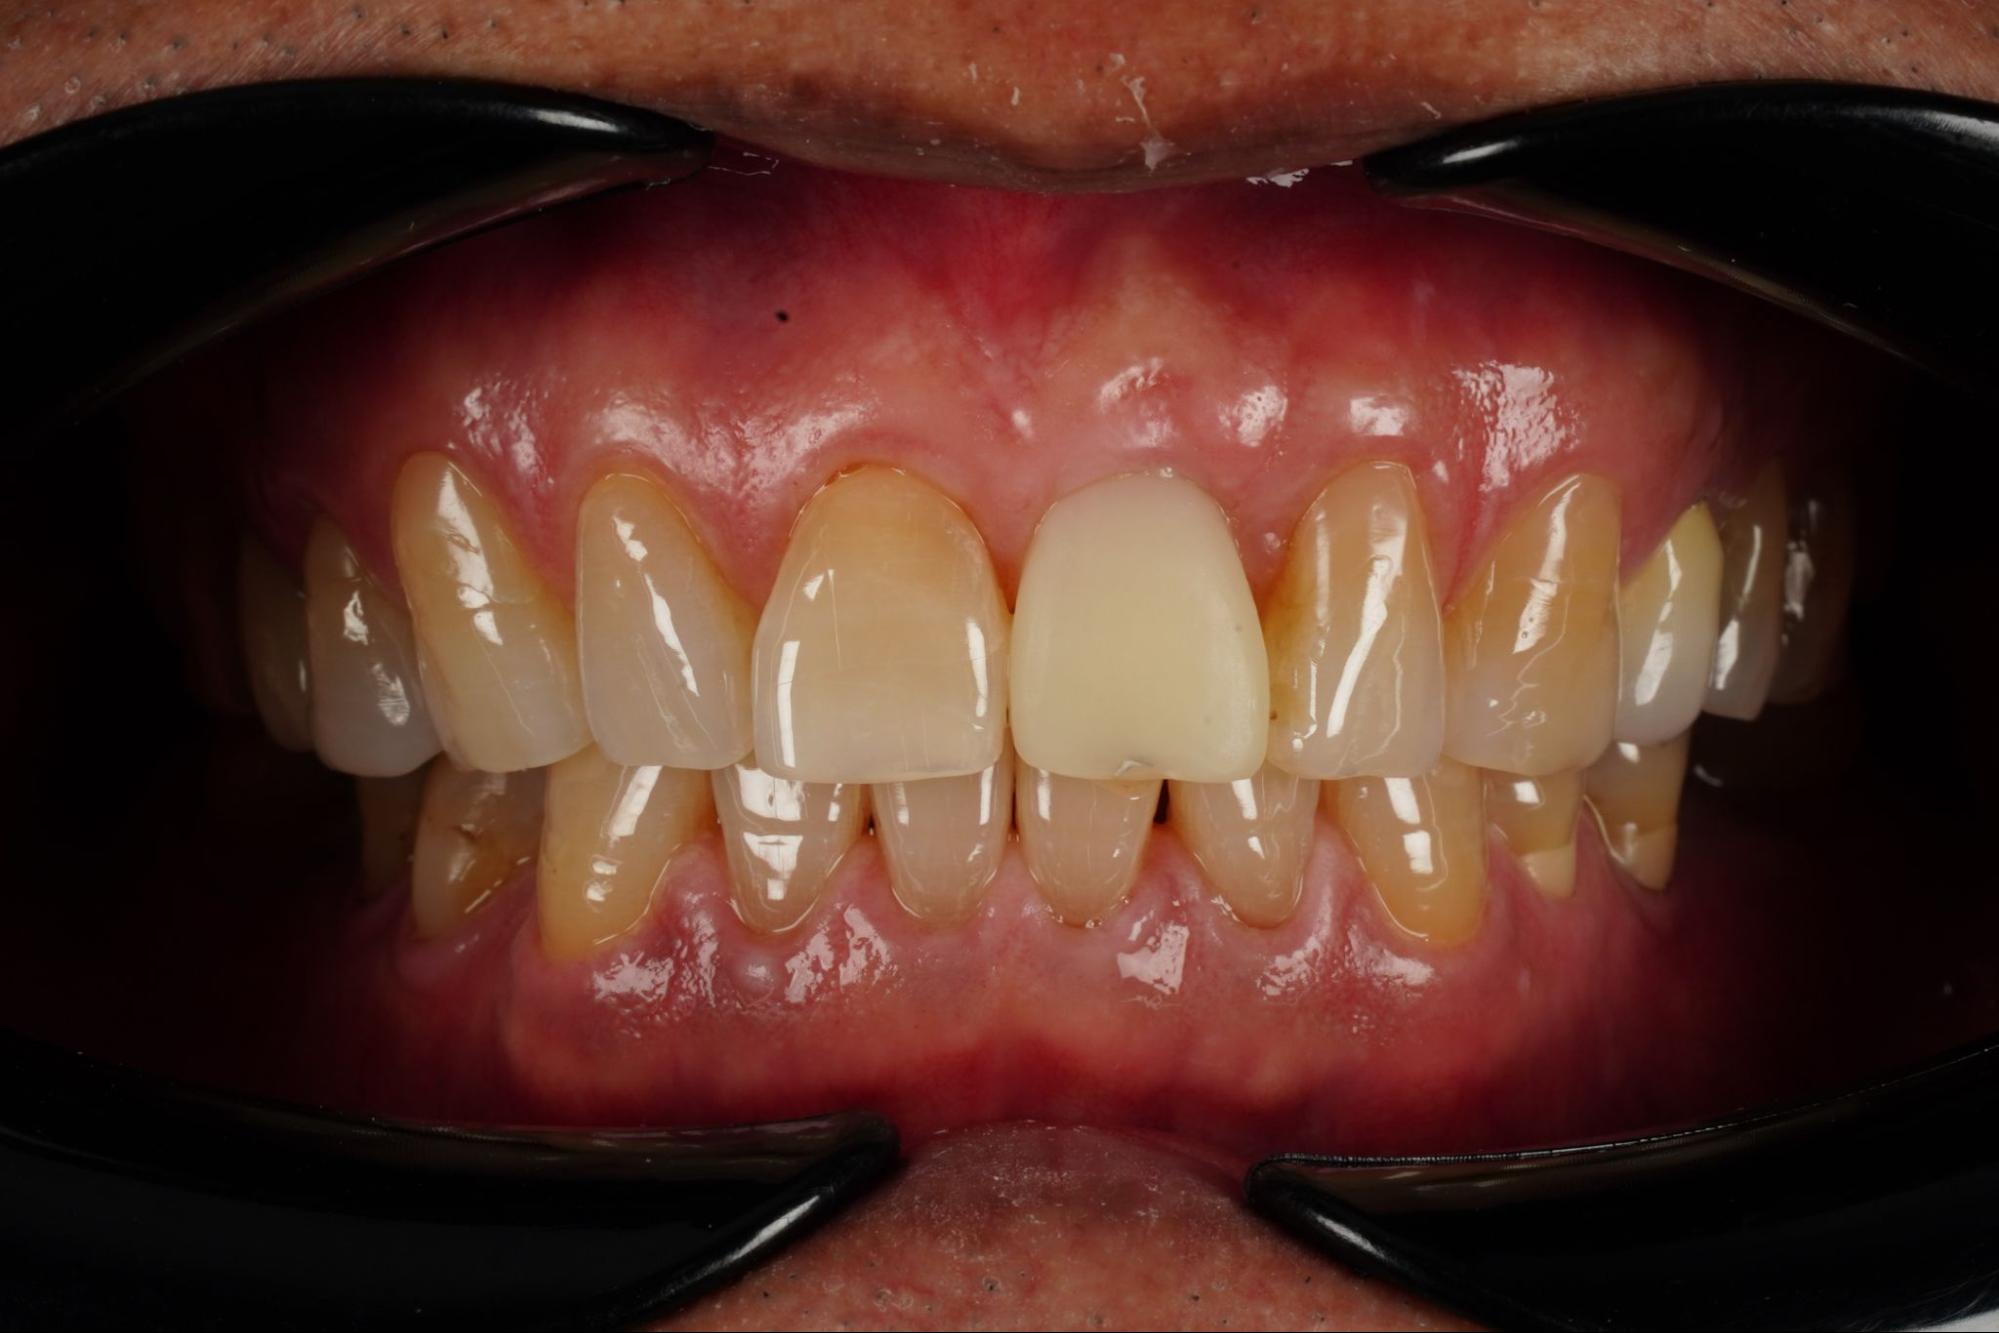
Image demonstrating teeth in the esthetic zone
Treatment planning principles and procedures
Implant placement in the esthetic zone uses a concept called Prosthodontic Driven Implant, which involves planning the implant position based primarily on the position of the crown. The steps are as follows:
- Examination, diagnosis, and digital treatment planning
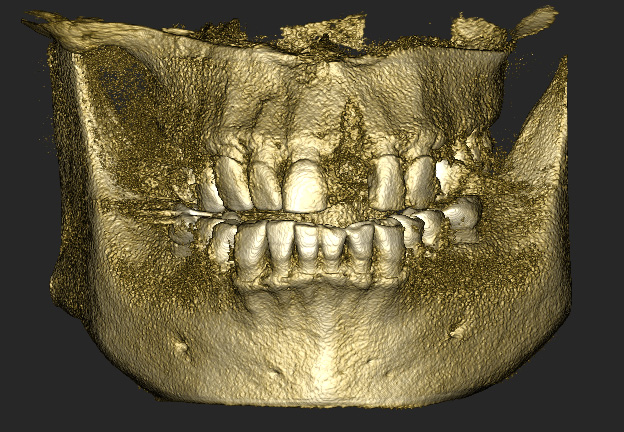
- 3D radiographic imaging: Used to evaluate bone thickness, the position of the nasal cavity, the position of adjacent teeth, and to simulate the most appropriate implant position.
- Digital Smile Design (DSD): Used to design the smile and determine the size of the new crown to match the patient’s facial structure and existing teeth.
- Surgical Guide: A 3D-guided template created from a digital system to assist in placing the implant accurately according to the treatment plan.
- Soft tissue and bone management techniques
Because bone and gum tissue tend to resorb after tooth extraction, the dentist may need to use additional techniques as follows:- Socket Preservation: In cases of recent extraction, bone and gum grafting may be performed immediately to prevent bone resorption before implant placement.
- Bone & Soft Tissue Grafting: If there is insufficient bone, bone grafting or gum grafting around the implant may be required to achieve adequate and esthetically pleasing tissue volume.
- Provisional Restoration
During the period while the bone integrates with the implant (approximately 3–6 months), the patient will have a temporary crown with the following purposes:- Maintain smile and confidence: Allowing the patient to carry out daily life as normal.
- Shape the gum tissue: The provisional crown is designed to gently support the gum to help contour it into a natural and esthetic form.
- Final restoration
Crowns used in the esthetic zone are typically made from all-ceramic materials (such as Zirconia or E-max) that have translucency very similar to natural teeth. The color and shape are carefully customized to match the patient’s adjacent teeth.
Advantages of implant placement in the esthetic zone
- Highly natural esthetics: Provides the most natural-looking results and blends most harmoniously with natural teeth compared to other types of tooth replacement.
- Preserves bone and gum tissue: Helps maintain facial structure and prevents bone and gum collapse in the anterior region, which affects esthetics.
- Durability and long-term function: Strong and allows stable chewing function.
- Does not damage adjacent teeth: No need to prepare adjacent teeth, unlike dental bridges.